USER GUIDES
Checking in a client
Overview
When a client is checked in, the system automatically updates their appointment history to reflect their attendance. This status is also visible on the calendar, allowing all team members to see at a glance that the client has arrived.
How to mark a client as arrived
-
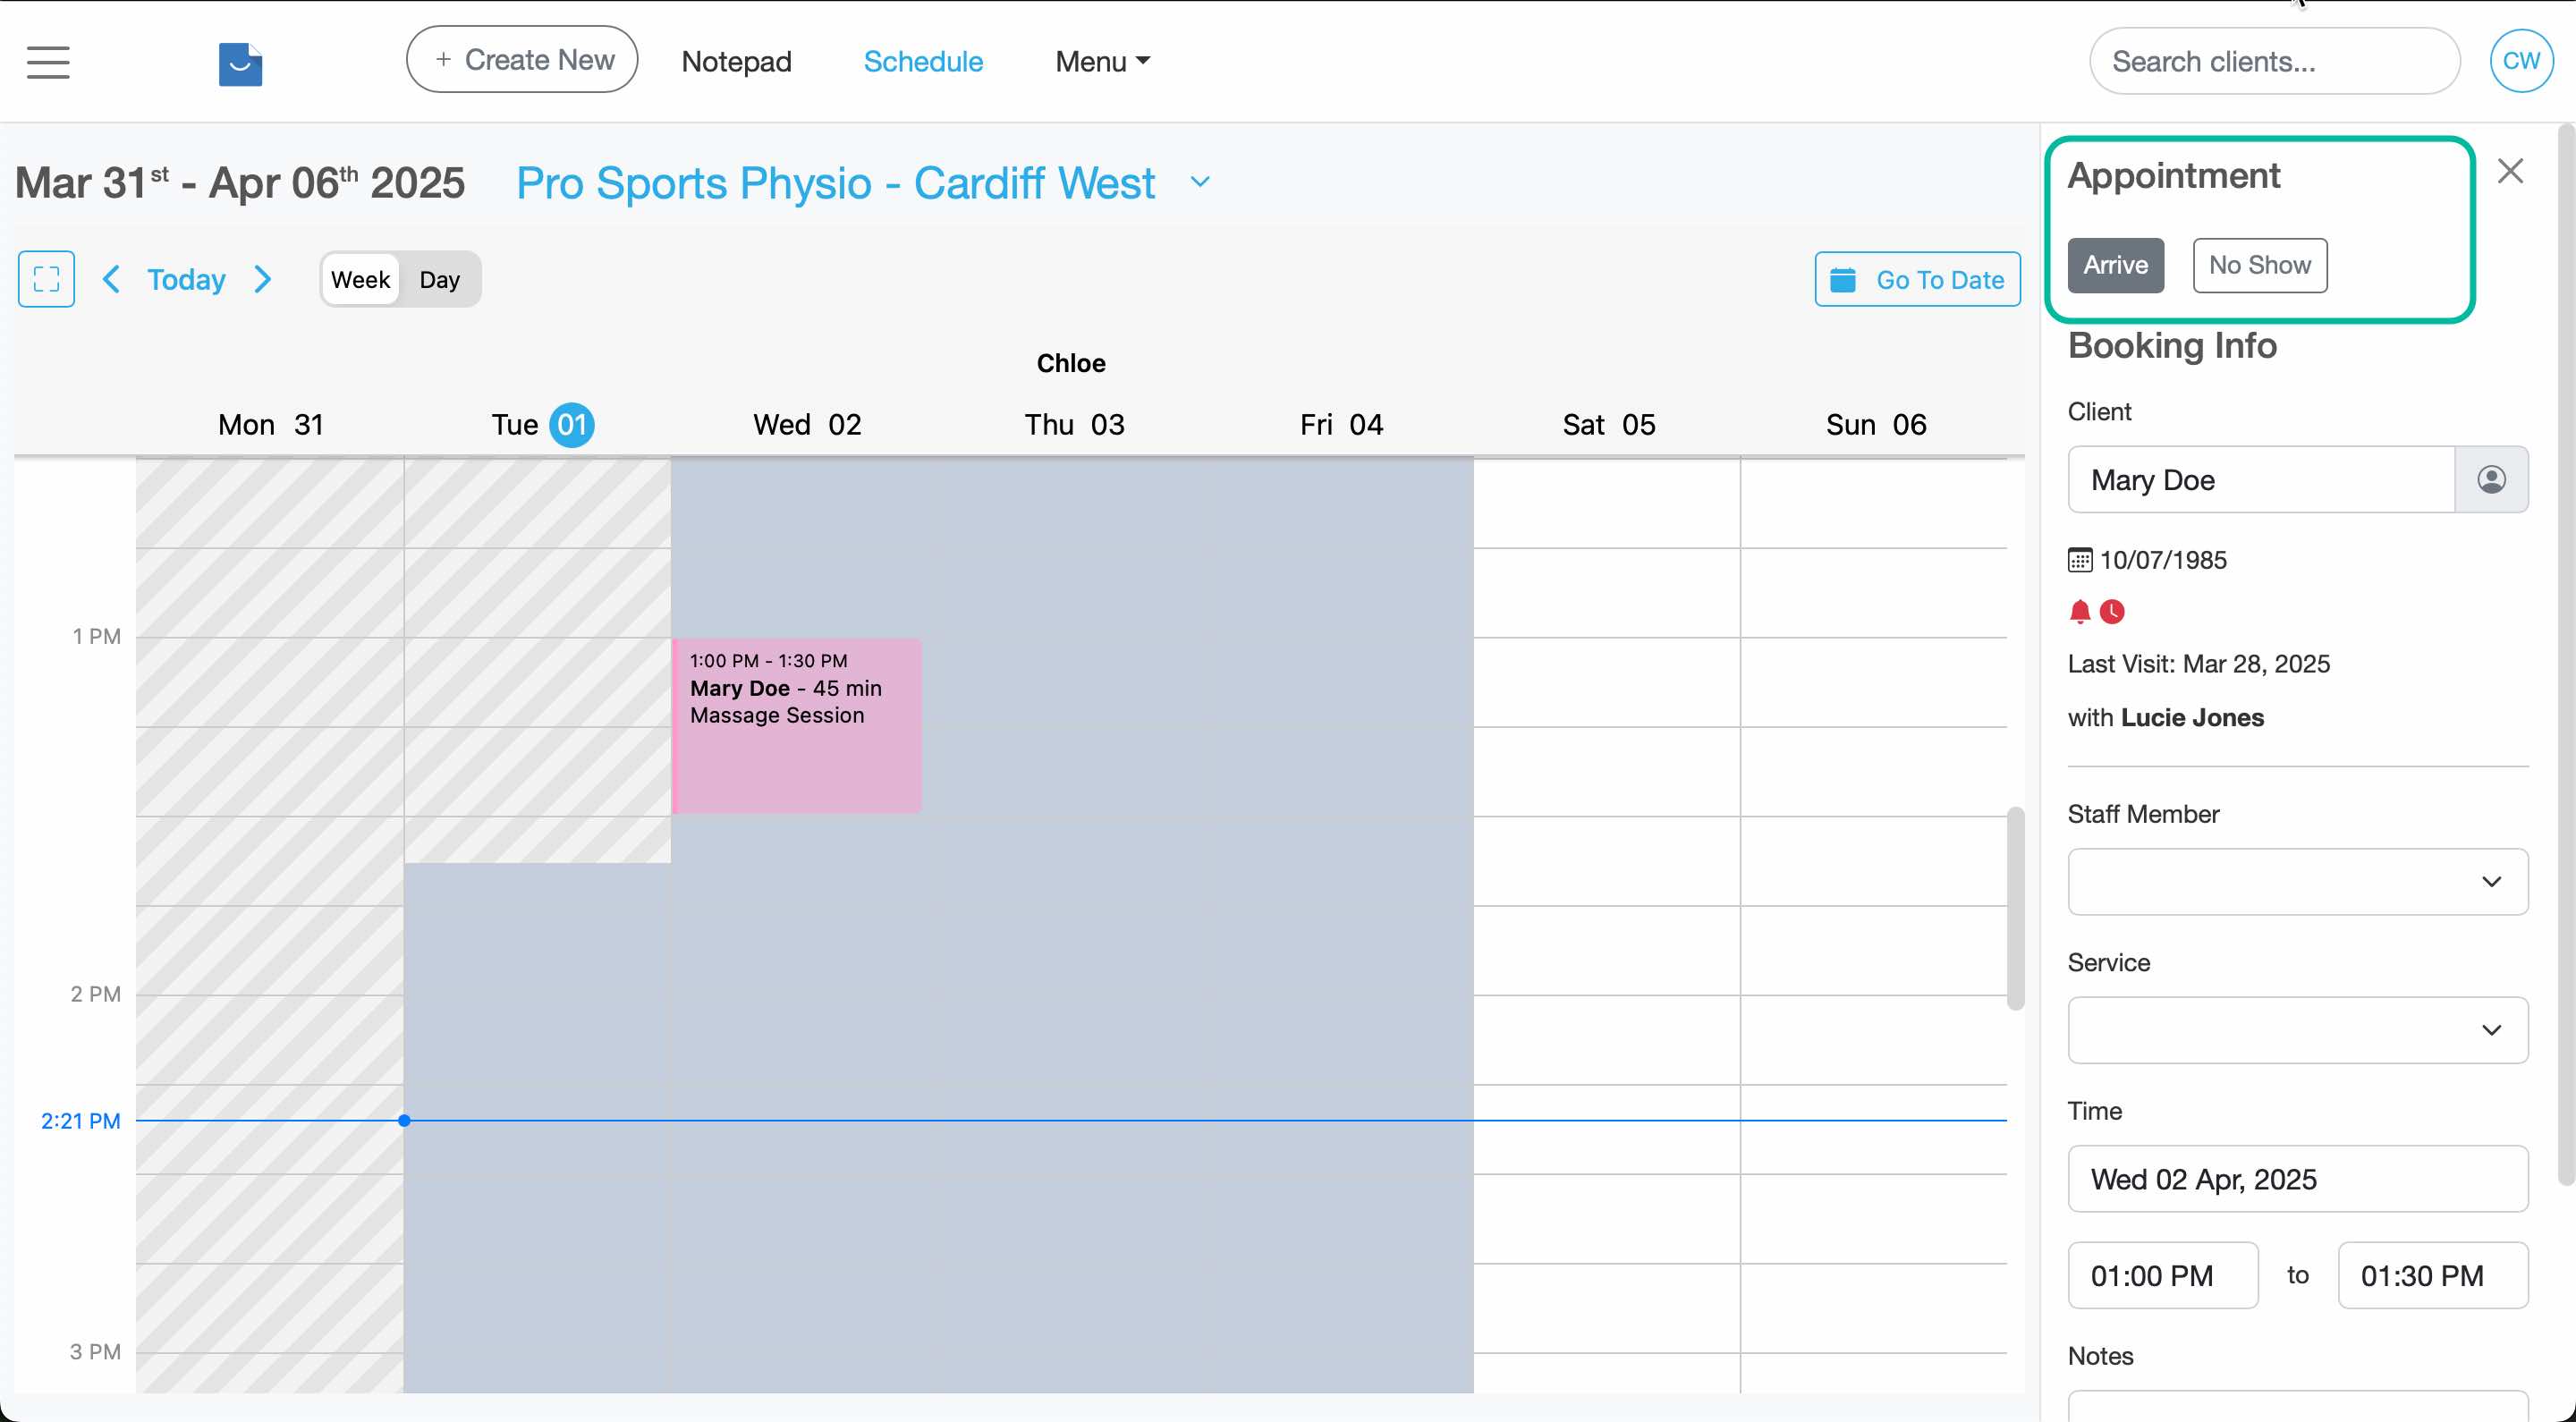
Click on the appointment to open the booking panel then select the 'Arrive' button and save changes.
-
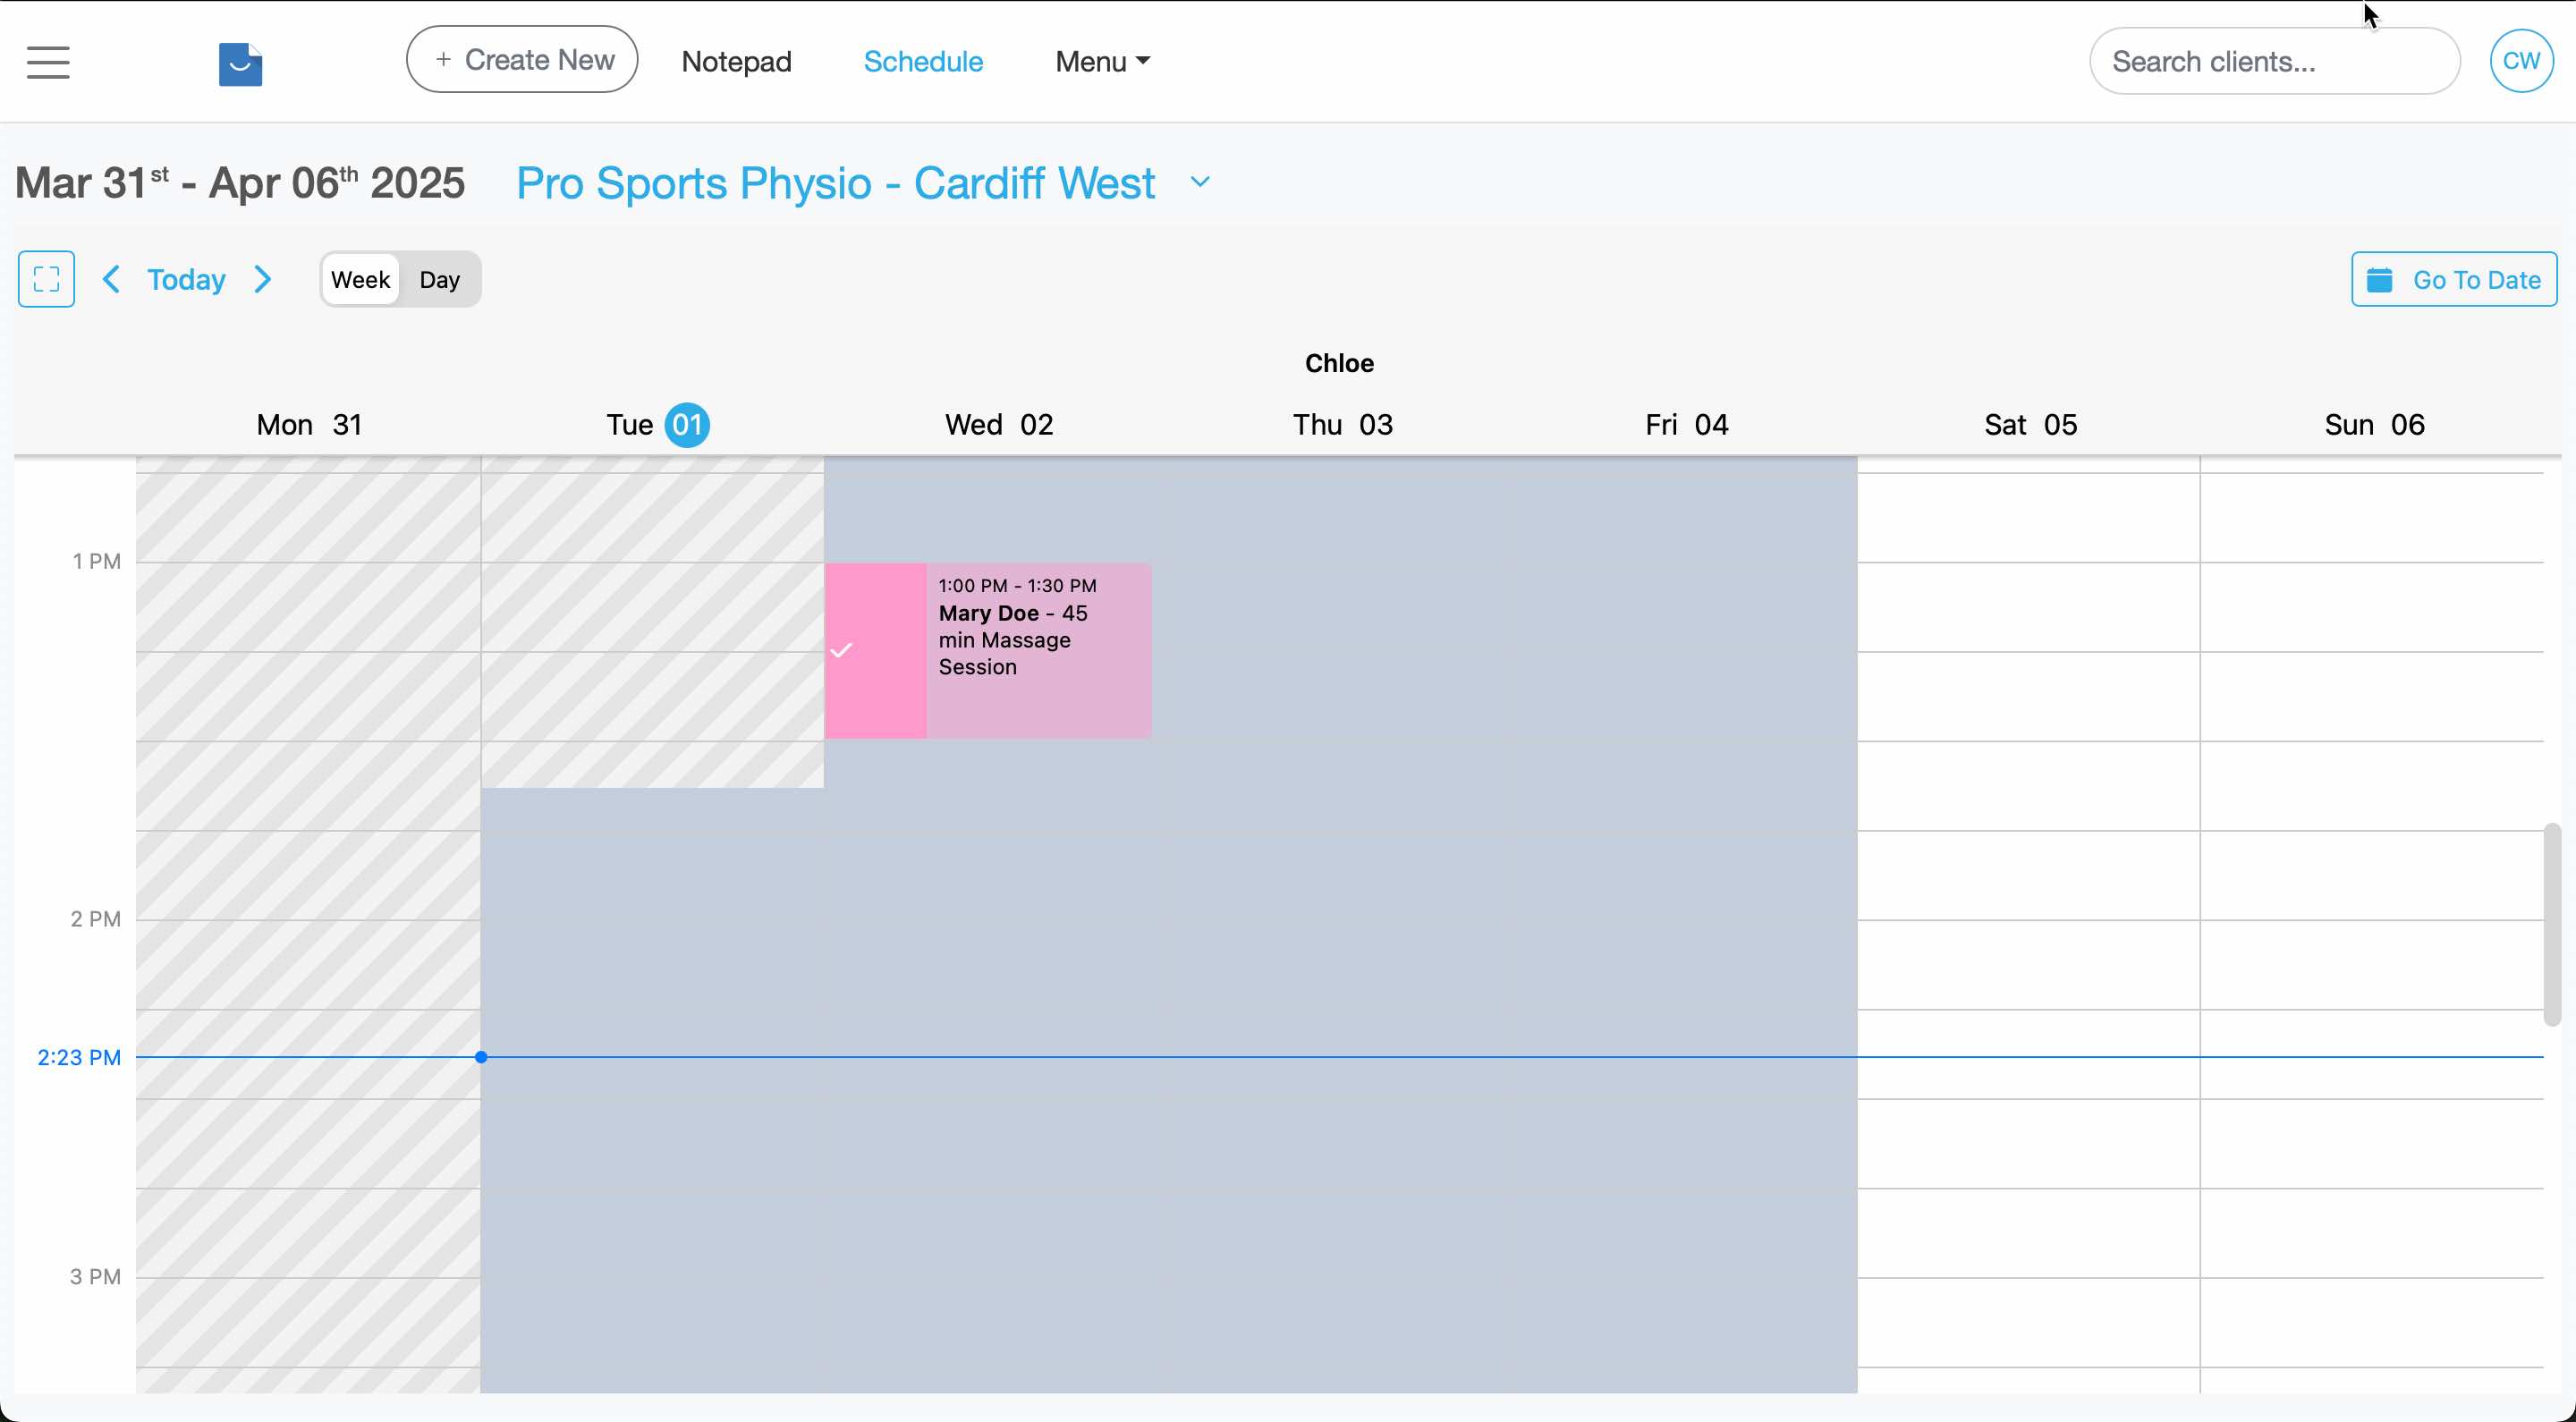
Once you've marked the client as 'Arrived', a tick icon appears next to the appointment.
-
The client status will be updated in the appointment history section of the client profile to reflect their attendance.
Pro Tip :
To undo the 'Arrive' status simply click the Arrive button again to unset the status. Save changes to update the record.